
[Android] 리스트 어댑터를 사용, 리사이클러뷰 만들기

리사이클러뷰 리스트어댑터
ListAdapter는 RecyclerView.Adapter를 베이스로 한 클래스로 RecyclerView의 List 데이터를 표출해주며 List를 백그라운드 스레드에서 diff를 처리하는 특징이 있다.
Adapter가 하는일
- 뷰와 데이터의 연결
- 데이터 변경이 있을시 UI 업데이트
이중 RecyclerAdapter와 ListAdapter의 큰 차이는 데이터 변경이 있을시 UI업데이트에 차이가 있다.
RecyclerAdapter에서 데이터를 업데이트 하려면 notify~() 종류의 매소드를 사용하여 UI를 업데이트했는데 리스트의 데이터가 바뀌면 변경된 Item만 바뀌는것이 아닌 전체가 새로 업데이트 된다.
그래서 한번에 받은 Item들이 많아지게 된다면 통채로 업데이트할 때 딜레이가 발생할 수 밖에 없다.
RecyclerAdapter를 사용할때 화면이 깜박이는 현상이 발생하는 경우가 있었다.
그래서 이런 불필요한 비용을 줄이고자 나온것이 DiffUtil이다.
DiffUtil
- 리스트의 변경된 데이터를 비교한다.
- 리스트에서 변경될 데이터만 바꿔준다.
원래는 상황에 맞춰 어떤위치의 아이템이 지워졌는지 추가되었는지 내용이 바뀌었는지등에 맞춰 처리를 해야하지만 그럴 필요가 없다.
이 DiffUtil를 사용해 비교후 다르다고 판단된 아이템 항목만 교체를 하여 리사이클러뷰를 효과적으로 업데이트 해줄수있다.
리사이클러뷰 리스트어댑터 만들기
- xml
- View (여기서는 프레그먼트를 사용)
- ViewModel (데이터를 가져와 뷰에 뿌리기위해 사용)
- Model (표출하고싶은 아이템 데이터)
- ListAdapter (뷰와 데이터를 연결해주기 위해 사용)
xml
- list_adapter_item.xml
<?xml version="1.0" encoding="utf-8"?>
<androidx.constraintlayout.widget.ConstraintLayout xmlns:android="http://schemas.android.com/apk/res/android"
    android:layout_width="match_parent"
    android:layout_height="wrap_content"
    xmlns:app="http://schemas.android.com/apk/res-auto"
    xmlns:tools="http://schemas.android.com/tools">
    <LinearLayout
        android:layout_width="match_parent"
        android:layout_height="wrap_content"
        android:padding="10dp"
        app:layout_constraintTop_toTopOf="parent"
        android:weightSum="3"
        android:orientation="horizontal">

        <ImageView
            android:id="@+id/profileImage"
            android:layout_width="0dp"
            android:layout_height="50dp"
            android:layout_weight="1"
            android:layout_gravity="center"
            tools:src="@drawable/man"/>
        <TextView
            android:id="@+id/userName"
            android:layout_width="0dp"
            android:layout_height="wrap_content"
            android:layout_weight="1"
            android:layout_marginStart="5dp"
            android:gravity="center"
            android:layout_gravity="center"
            android:padding="10dp"
            tools:text="고길동"
            android:textSize="17sp"
            android:textColor="@color/black"/>
        <TextView
            android:id="@+id/userAge"
            android:layout_width="0dp"
            android:layout_height="wrap_content"
            android:layout_weight="1"
            android:layout_marginStart="5dp"
            android:gravity="center"
            android:layout_gravity="center"
            android:padding="10dp"
            tools:text="30살"
            android:textSize="17sp"
            android:textColor="@color/black"/>
    </LinearLayout>

</androidx.constraintlayout.widget.ConstraintLayout>
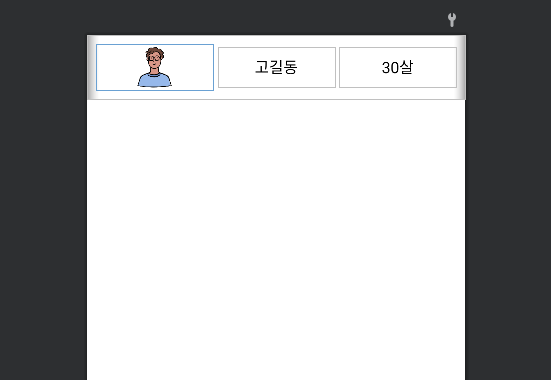
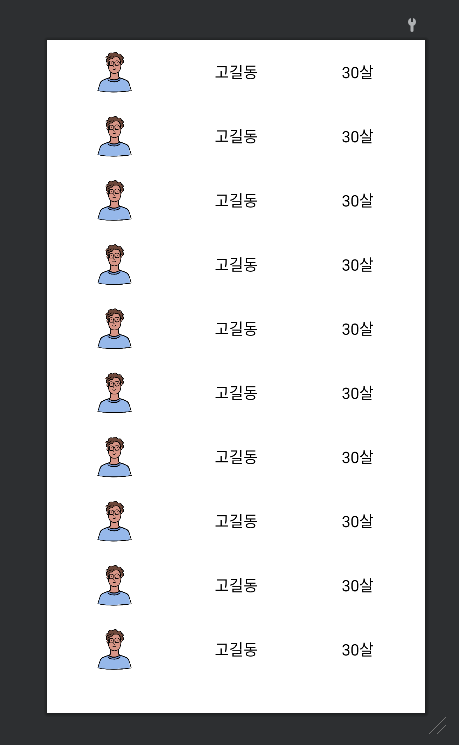
- fragment_list_adapter.xml
<androidx.recyclerview.widget.RecyclerView>에서 tools:listitem=""를 사용하면 아이템에따라 화면이 어떤식으로 표출될지 미리 알수있다.
<?xml version="1.0" encoding="utf-8"?>
<androidx.constraintlayout.widget.ConstraintLayout xmlns:android="http://schemas.android.com/apk/res/android"
    android:layout_width="match_parent"
    android:layout_height="match_parent"
    xmlns:app="http://schemas.android.com/apk/res-auto"
    xmlns:tools="http://schemas.android.com/tools">

    <androidx.recyclerview.widget.RecyclerView
        android:id="@+id/profileList"
        android:layout_width="match_parent"
        android:layout_height="0dp"
        app:layout_constraintTop_toTopOf="parent"
        app:layout_constraintBottom_toBottomOf="parent"
        app:layoutManager="androidx.recyclerview.widget.LinearLayoutManager"
        tools:listitem="@layout/list_adapter_item" />
</androidx.constraintlayout.widget.ConstraintLayout>
View (Fragment)
xml과의 연결은 ViewBinding을 사용했다.
Adapter에 넘길 데이터는 ViewModel에서 LiveData로 받는다.
- ListAdapterFragment.kt
class ListAdapterFragment : Fragment() {
    lateinit var binding: FragmentListAdapterBinding
    private val viewModel : MainViewModel by activityViewModels()

    override fun onCreateView(inflater: LayoutInflater, container: ViewGroup?, savedInstanceState: Bundle?): View? {
        binding = FragmentListAdapterBinding.inflate(inflater,container,false)
        return binding.root
    }

    override fun onViewCreated(view: View, savedInstanceState: Bundle?) {
        super.onViewCreated(view, savedInstanceState)

        viewModel.profileDetailDataInfo.observe(viewLifecycleOwner){
            var listAdapter = ProfileDetailAdapter { profileDetailInfo ->
                Toast.makeText(requireContext(),"${profileDetailInfo.userName} , ${profileDetailInfo.userAge}",Toast.LENGTH_SHORT).show()
            }
            binding.profileList.adapter = listAdapter
            listAdapter.submitList(it)
        }
    }
}
viewBinding을 하여 리스트 어댑터와 연결시켜주고 .submitList() 를하여 데이터를 넣어주면 된다.
submitList()는 리스트 항목을 변경하고 싶을 때 사용하는데 기존 RecyclerAdapter의 add(), notifyDataSetChanged()를 대체한다.
ViewModel
- MainViewModel.kt
class MainViewModel : ViewModel() {
    enum class FragmentStep { HOME, PROFILE_DETAIL }
    val liveFragmentStep = SingleLiveEvent<FragmentStep>()
    var profileDetailDataInfo = MutableLiveData(arrayListOf<ProfileDetailInfo>())

    init {
        var profileDetailData = arrayListOf<ProfileDetailInfo>()
        profileDetailData.add(ProfileDetailInfo(R.drawable.man,"홍길동","20살"))
        profileDetailData.add(ProfileDetailInfo(R.drawable.man2,"고길동","25살"))
        profileDetailData.add(ProfileDetailInfo(R.drawable.man2,"이철수","21살"))
        profileDetailData.add(ProfileDetailInfo(R.drawable.woman,"고길순","24살"))
        profileDetailData.add(ProfileDetailInfo(R.drawable.woman2,"김짱아","20살"))
        profileDetailData.add(ProfileDetailInfo(R.drawable.man,"신짱구","23살"))
        profileDetailData.add(ProfileDetailInfo(R.drawable.woman,"이유리","26살"))
        profileDetailData.add(ProfileDetailInfo(R.drawable.woman2,"이세아","22살"))
        profileDetailData.add(ProfileDetailInfo(R.drawable.woman,"박진아","20살"))

        profileDetailData.add(ProfileDetailInfo(R.drawable.woman,"킹세종","24살"))
        profileDetailData.add(ProfileDetailInfo(R.drawable.woman2,"이경영","20살"))
        profileDetailData.add(ProfileDetailInfo(R.drawable.man,"백수학","23살"))
        profileDetailData.add(ProfileDetailInfo(R.drawable.woman,"최다니엘","26살"))
        profileDetailData.add(ProfileDetailInfo(R.drawable.woman2,"김힙합","22살"))
        profileDetailData.add(ProfileDetailInfo(R.drawable.woman,"비둘기","20살"))

        profileDetailDataInfo.value = profileDetailData
    }
}
ViewModel이 생성되자마자 profileDetailData 라이브데이터에 데이터가 입력되고 옵저버 걸린 ListAdapterFragment에서 리사이클러뷰가 동작한다.
Model
리사이클러뷰에 원하는 아이템을 표시할려면 아이템에 넣기위한 모델을 만들어야한다.
여기에서 필요한 내용은 다음과 같다.
- 프로필 이미지
- 이름
-
나이
- ProfileDetailInfo.kt
data class ProfileDetailInfo(
    var profileImage : Int,
    var userName : String,
    var userAge : String
)
그래서 뷰모델에서 ProfileDetailInfo로 리스트를 만들어 뷰로 넘기는것을 볼수있다.
ListAdapter, ViewHolder
- ProfileDetailAdapter.kt
class ProfileDetailAdapter(private val itemClick : (ProfileDetailInfo) -> Unit) : ListAdapter<ProfileDetailInfo, ProfileDetailAdapter.ProfileDataViewHolder>(diffUtil) {

    override fun onCreateViewHolder(parent: ViewGroup, viewType: Int): ProfileDataViewHolder {
        val binding = ListAdapterItemBinding.inflate(LayoutInflater.from(parent.context), parent, false)
        val profileDataViewHolder = ProfileDataViewHolder(binding)

        binding.apply {
            root.setOnClickListener {
                itemClick(getItem(profileDataViewHolder.layoutPosition))
            }
        }
        return profileDataViewHolder
    }

    override fun onBindViewHolder(holder: ProfileDataViewHolder, position: Int) {
        holder.onBind(getItem(position))
    }

    class ProfileDataViewHolder(private val binding: ListAdapterItemBinding) : RecyclerView.ViewHolder(binding.root){
        fun onBind(profileData: ProfileDetailInfo){
            binding.userName.text = profileData.userName
            binding.userAge.text = profileData.userAge
            binding.profileImage.setImageResource(profileData.profileImage)
        }
    }

    companion object{
        val diffUtil = object : DiffUtil.ItemCallback<ProfileDetailInfo>(){
            override fun areItemsTheSame(oldItem: ProfileDetailInfo, newItem: ProfileDetailInfo) = oldItem == newItem
            override fun areContentsTheSame(oldItem: ProfileDetailInfo, newItem: ProfileDetailInfo) = oldItem == newItem
        }
    }

}
- ViewHolder
RecyclerView 내 위치에 대한 아이템 뷰와 메타데이터를 설명한다.
위에서 설명했지만 리사이클러뷰는 아이템을 개속 생성하는것이아닌 이미 만들어진 아이템을 재활용한다. 아이템은 TextView, ImageView등의 뷰로 구성되어있을텐데 재사용되는 뷰의 구성 요소를 저장하여 바로바로 사용할수 있도록 한것이다.
class ProfileDataViewHolder(private val binding: ListAdapterItemBinding) : RecyclerView.ViewHolder(binding.root){
    fun onBind(profileData: ProfileDetailInfo){
        binding.userName.text = profileData.userName
        binding.userAge.text = profileData.userAge
        binding.profileImage.setImageResource(profileData.profileImage)
    }
}
onBind 에서 포지션의 데이터를 받아 그 데이터들을 뷰와 연결시켜준다.
- DiffUtil
val diffUtil = object : DiffUtil.ItemCallback<ProfileDetailInfo>(){
    override fun areItemsTheSame(oldItem: ProfileDetailInfo, newItem: ProfileDetailInfo) = oldItem == newItem
    override fun areContentsTheSame(oldItem: ProfileDetailInfo, newItem: ProfileDetailInfo) = oldItem.userAge == newItem.userAge
}
ListAdapter에서 중요한 DiffUtil을 보자 DiffUtil.ItemCallback<>() 를 상속 받아주면 된다.
필수로 areItemsTheSame() 과 areContentsTheSame() 메소드를 구현해야한다. 이 두 메소드는 기존의 리스트와 새로운 리스트의 각 항목을 순서대로 비교한다.
areItemsTheSame()
아이템 항목 자체가 같은지 비교한다.
각 항목이 가지는 고유한 값을 비교하여 항목이 같은지 아닌지를 판별할 수 있다.
예를들어 이름과 나이를 보여주는 리스트라면, 이름이 고유한 값이 될 것이다. 이름이 같다면 true를 다르면 false를 반환한다.
false인 경우 아이템 자체가 달라졌기 때문에 그 내용을 비교할 것도 없이 새로운 리스트의 아이템으로 교체한다.
true인 경우, 아이템 자체는 같지만 그 내용이 달라졌을지도 모르기 때문에 areContentsTheSame() 를 호출한다.
areContentsTheSame()
아이템의 내용을 비교한다.
아이템의 어떤 내용을 비교할것인가는 원하는 것을 적으면 된다.
예를들면 이름은 같지만 나이가 달라졌는지 비교하면 된다. 나이가 같으면 true를 다르면 false를 반환한다. true의 경우 기존 리스트의 아이템과 새로운 리스트의 아이템이 완전히 일치한다고 보고, 아무일도 일어나지 않는다.
클릭의 이벤트 처리이다.
//ProfileDetailAdapter.kt
class ProfileDetailAdapter(private val itemClick : (ProfileDetailInfo) -> Unit) : ListAdapter<ProfileDetailInfo, ProfileDetailAdapter.ProfileDataViewHolder>(diffUtil) {
    binding.apply {
        root.setOnClickListener {
            itemClick(getItem(profileDataViewHolder.layoutPosition))
        }
    }
}
아이템을 클릭하면 리스너에 전달이되고 itemClick 콜백을 날린다.
//ListAdapterFragment.kt
var listAdapter = ProfileDetailAdapter { profileDetailInfo ->
    Toast.makeText(requireContext(),"${profileDetailInfo.userName} , ${profileDetailInfo.userAge}",Toast.LENGTH_SHORT).show()
}
그러면 클릭한 포지션의 데이터를 받을수있다.
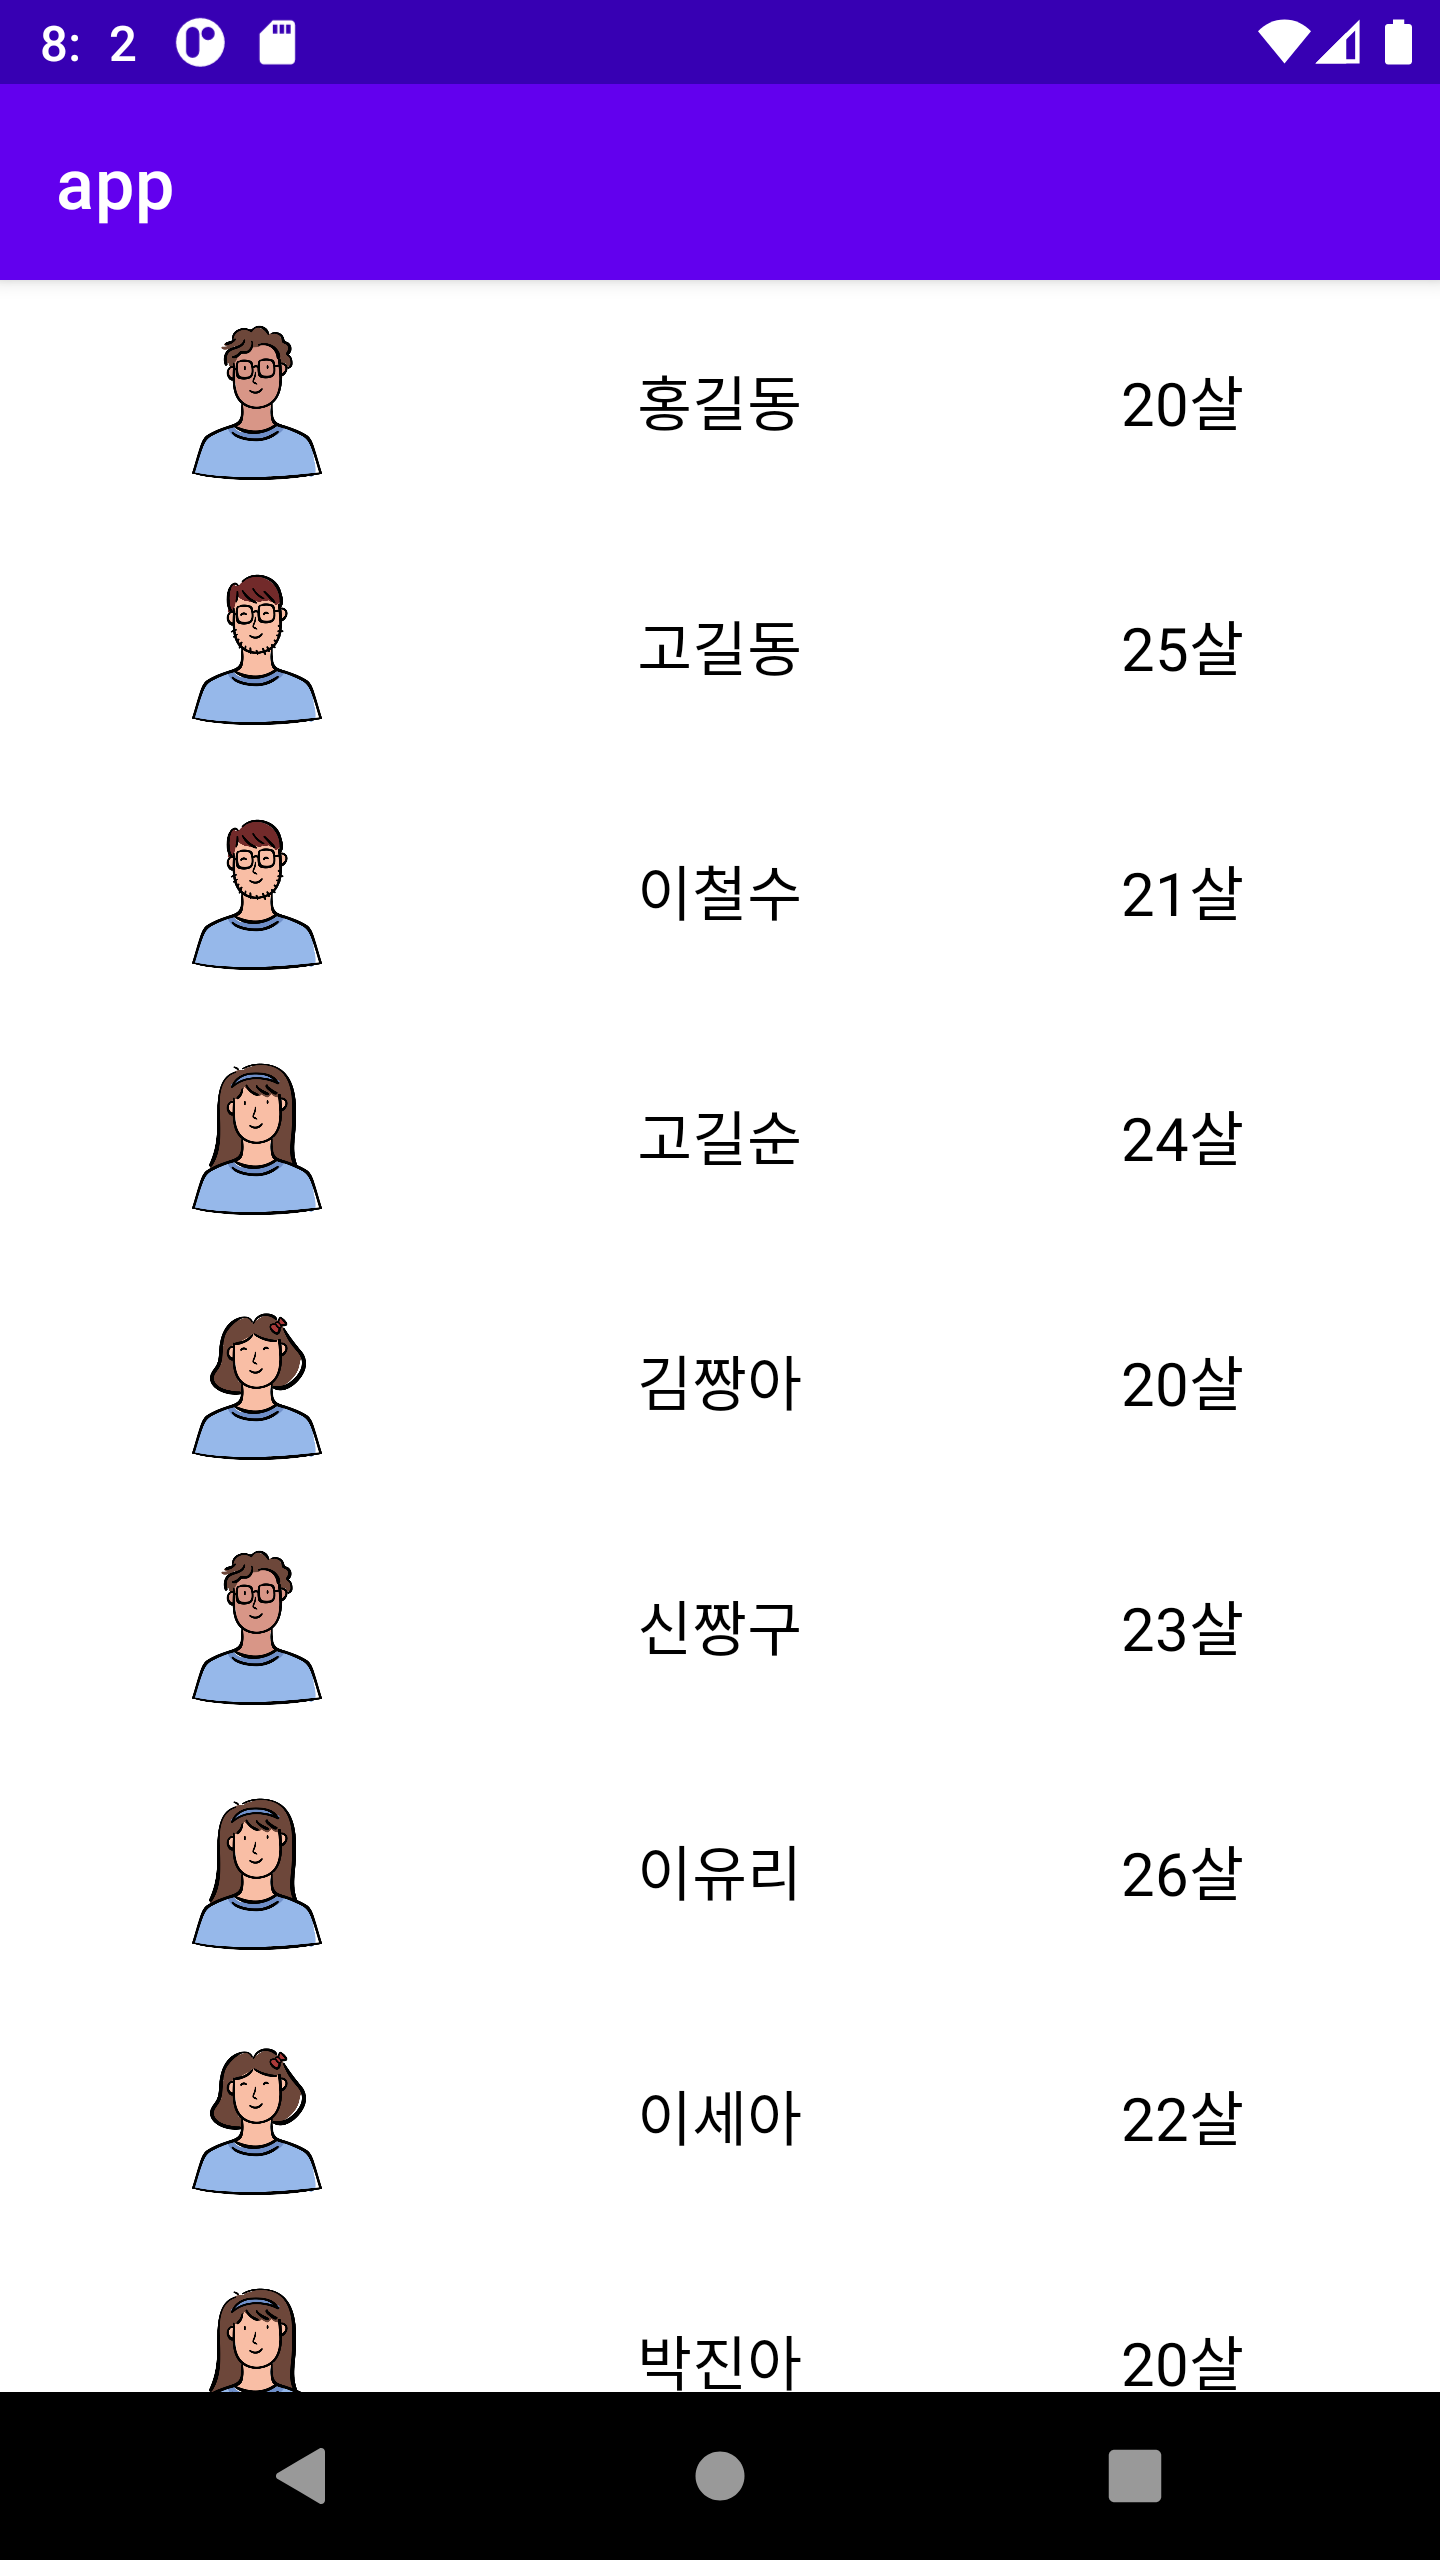
실행시키면 다음과 같은 화면이 나온다.
전체코드는 아래 링크에서 볼수있다.
https://github.com/cellodove/RecyclerView
참조
https://velog.io/@l2hyunwoo/Android-RecyclerView-DiffUtil-ListAdapter
https://velog.io/@dev_thk28/Android-RecyclerView와-ListAdapter-Java
https://developer.android.com/reference/androidx/recyclerview/widget/ListAdapter